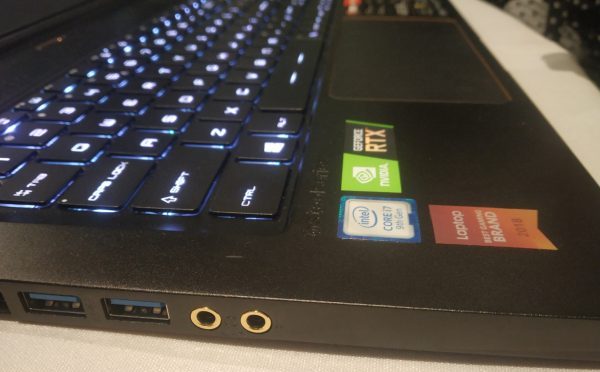
Some Windows laptops, mostly the newer ones that come with the NVIDIA RTX series GPUs have been facing issues where their headphone jack does not work. However, internal speakers continue to work fine. Even with the latest versions of all the drivers, this problem tends to keep occurring. This issue mostly occurs on laptop computers made by MSI and with no reliable fix or workaround officially announced by the company, we will be taking a look at some of the methods that you can carry out to fix this issue. In my personal troubleshooting process, my MSI laptop was running an up-to-date Windows 10 copy.

Headphone jack not working on laptop
The following working fixes will help you in troubleshooting the Laptop Headphone jack not working issue:
- Force reboot your computer
- Clean the headphone jack and plug it again properly
- Update your Audio drivers
- Set the headphone as default
1. Force reboot your computer
This method has come out to be the most working out of all. Especially for the MSI Laptops.
It is really simple. Make sure all the unsaved work on your computer is saved before you carry on with this method.
Turn on your computer and press and hold the power button for at least 30 seconds in a single go.
Ignore the screen flashing or making any changes.
Plug out and plug in your computer and turn it on automatically. It should get it working perfectly fine.
This is a weird solution but has been proven to be working all the time.
2. Clean the headphone jack and plug it again properly
You can use a cotton swab to clean the headphone jack. There might be chances that some dust might have settled in the port resulting in bad or no audio. Also, you can try to change the headphones.
3. Update your Audio drivers
The best resort could be updating the drivers of your computer – Especially the Audio driver. For my MSI laptop, i visited the MSI’s official website to download the latest version of drivers from them.
There might be chances that an updated BIOS or Audio driver might have fixed this issue. So, if any updates to your drivers are available, consider downloading and applying them on your computer to fix this issue.
4. Set the headphone as default
Right-click on the speaker icon in the system tray and select Open Sound Settings.
On the rightmost column, select the Sound Control Panel.
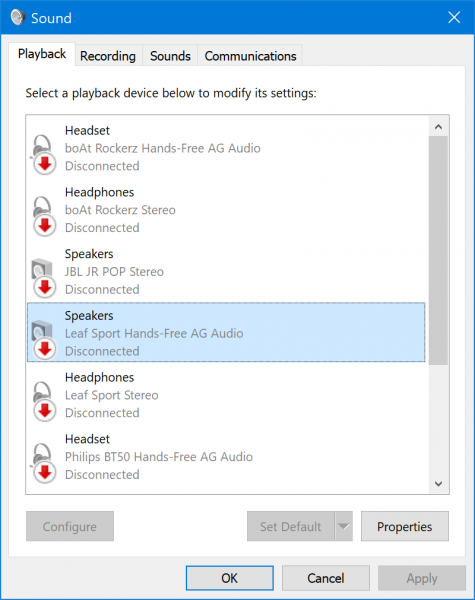
It will open a new mini window.
Under the tab of Playback, select your headphone and click on the Set default button.
Select Apply and then click on OK.
It should get your headphones working totally fine.


Add Comment