
Best guide to poea online services will be described in this article.
What is POEA?
POEA is quick for the Philippines Overseas Employment Administration. It is a country organisation liable for facilitating Filipino citizens to be operated overseas.
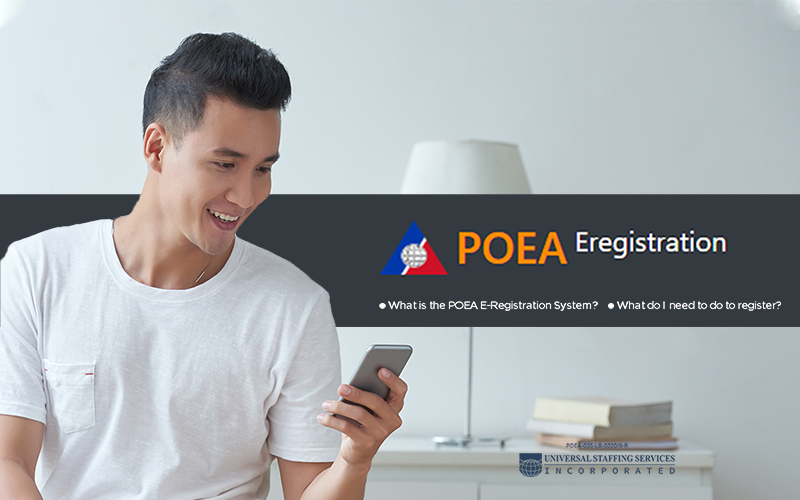
What is the POEA e-Registration System?
The POEA e-Registration System records data of workers who plan to perform overseas. Registering via the online platform is important to getting a job overseas as it is compulsory for all OFWs previous to their withdrawal. Applicants will accept a registration digit behind the registration process has finished.
- Besides writing for overseas profession, the POEA e-Registration System offers various positions:
- Supply information regarding job vacancies in different countries
- Provide job vacancies with POEA-licensed recruitment agents
- Notify applicants on the grade of job applications
- Verify trades status
- Collect processing payments
- Accept submissions for the registration of leads and employers
- Welcome applications to Overseas Employment Certificate (OEC)
- Provide viewing of career agreements
How to register on the System?
- Before you begin with the enrollment, you’ll require the following things:
- A laptop or desktop computer (or mobile widgets)
- Stable Internet association
- Reviewed / digital copy of your passport sized photograph (2″ x 2″)
- Photo or scanned reproduction of the foremost messenger of your Philippine access
We advise you to operate a computer over a smartphone as the design is not optimised for portable machines. The texts can become very tiny, which causes it challenging to read. Nevertheless, you can still complete use of zooming & scrolling to steer through the system on your portable devices.
Step 1: Register and activate account
Visit the POEA e-Registration website. Click the “Register” button at the base of the landing carrier. (See red ring.) You will then be directed to the Phrases of Use & Privacy Statement page. Read it & choose “I Accept Terms of Use”.
Read the important information on the left of the carrier. Then, fill in your individual particulars including your name, gender, email address, date of delivery, passport digit & passport expiry date. You can choose to leave the suffix title field blank, though you must fill in other fields. Hit “Register” after completing the form. You will see a note declaring that your registration is successful. You will keep to go to your email inbox & use the Initial Password to log in for the first time. You will then require to make a new password straight away. Confirm your password & click “Modification password”. This is another step for poea online services. Also check Locksmith Services
Step 2: Upload profile picture and passport
Now that you are logged in, select “Attach Profile Picture” to spread the upload photo window. Then, click “Select File” to choose a photo of you as the shape picture. Click “Upload” later. The photo has to be:
Passport Size
Less than 2 MB JPG/JPEG file
Clean and clear
Next up, click “Attach Passport” to secure a photocopy of the foremost page of your passport. Similarly, click “Upload” once you have located your image from your appliance.
Step 3: Create profile
Next, you want to complete your shape. Go to the “My Profile” account on the left menu, & input your individual details requested. This is another step for poea online services.
Then do the identical when you click “Add New Identification”. You will require the subsequent details to fill in the form:
- Passport
- SSS ID
- OWWA ID or OFW e-Card
- TESDA ID
- Seaman’s Book (SIRB)
- PhilHealth ID
- Pag-IBIG
- UMID
In the “My Family” area, enter the details of your heirs. Choose “Update Profile” when you are accomplished.
Step 4: Add education info
Click “My Education” beneath “My Profile” on the left menu. In here, you will control to input your educational achievement, certificates, activities, & language. This is another step for poea online services. Also check commercial loan truerate services
Choose the educational level you attained, and in which year. Also, choose the school you attended & the subject you studied. Enter their words into the “Others” field if you are not able to locate them in the drop down menu.
Hit “Save” behind you have ended. There is no limit to the integer of scholarly attainments you put.
In the “Certificates”, you can upload your TESDA credentials & those from scholarly institutions. Remember to click “Save” behind you are done with documenting the particulars of the certificates, which have the title, certificate digit, issuing agency or organization, date of distribution, etc.
Likewise, join the elements of the activity you may have & which speeches you can speak. Hit “Save” after ending each neighborhood.
Step 5: Add work preference and experience
Guide to the “My Experience” shown in the left panel. Click “Add Selection”, then choose the class, explore for the position, then select for Industry, preferred country, & category.
Add your work knowledge by clicking the “Add Experience” button. Fill in the name of the business, as well as your assignment, dates of employment, and country. If you are presently hired in a business, you can check the box which says “Present Work”.
Step 6: Upload documents
You are almost there! Go to “My Documents” through the left panel. Also check Air Charter Services
Select “Add Document” to add relevant documents like NBI clearance, medical certificate, and offence clearance. Choose the document type, the issue date, and expiry date. Hit the “Save” button afterwards.
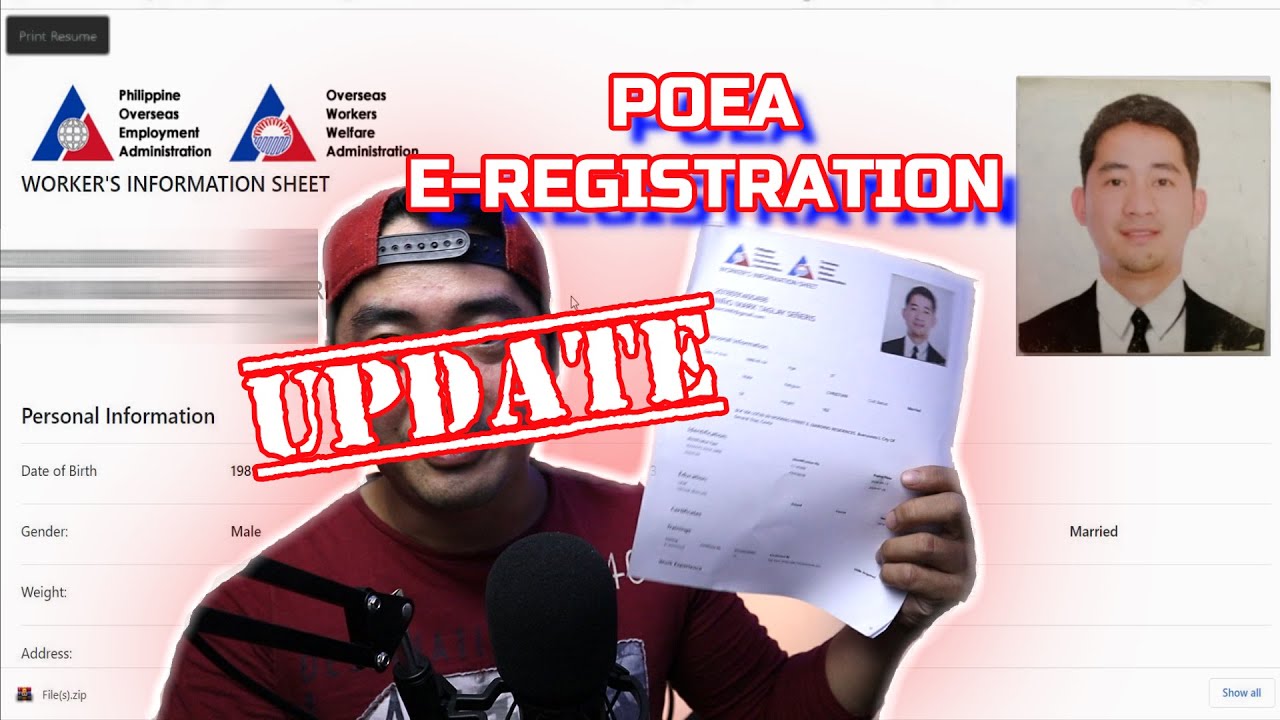
Step 7: View and print resume
You are good to go! You can click the “My Resume” tab to view and print your information sheet. Click the “Print Resume” button on the top-left-hand-corner to print the resume.


Add Comment